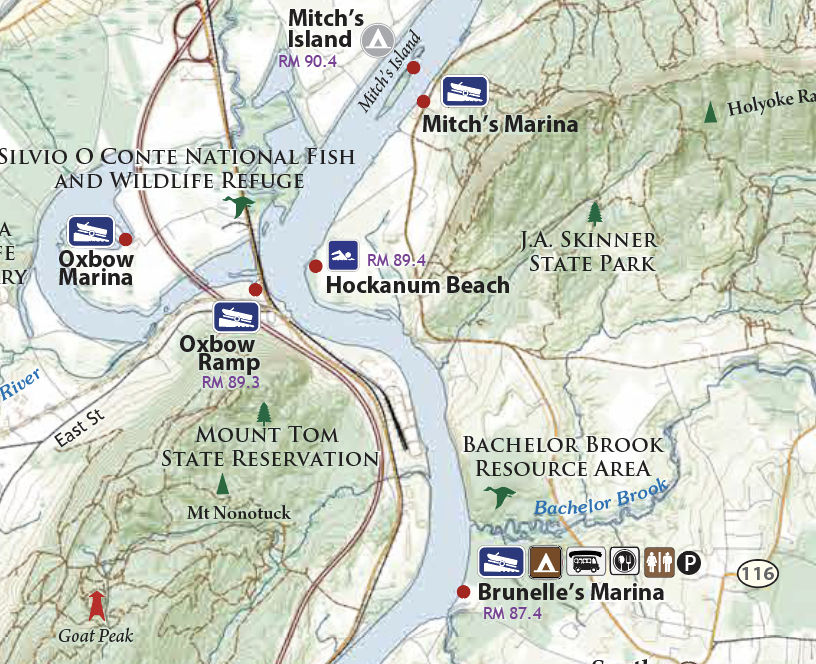
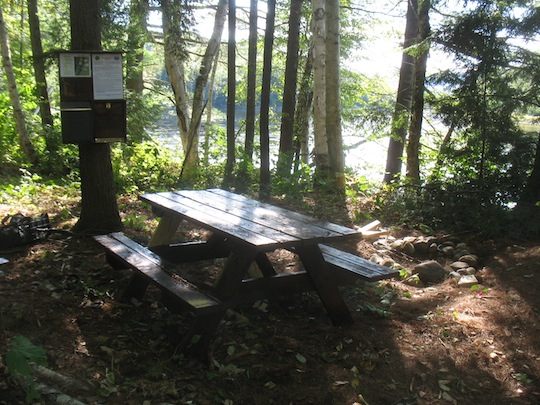
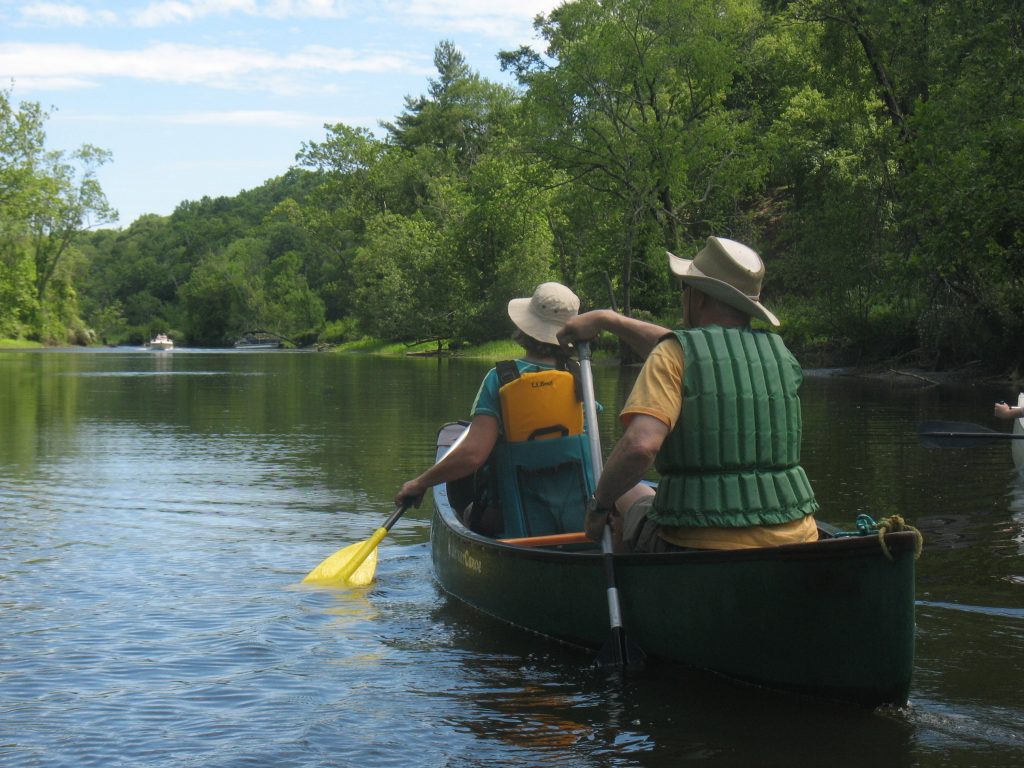
The New import wizard guides the user through a number of steps to configure an import.

Select content type

On the Select content type page you can select the content type to create content for. Only the content types you have permission to create are listed.

Select file

The Select file page allows you to upload and select the file that contains the content to import. There is a list of available files to choose from (previously uploaded files), or you can upload a new file.

Using FTP

The Node import module can be configured to allow users to upload files using FTP rather than by the form.

After you have uploaded a (big) file using FTP, you need to press Reload page to inform the form about the new file.

Set file options

On the Set file options page you can specify the file format by selecting one of the predefined formats, such as CSV or TSV, or specify the Record separator, Field separator, Text delimiter and Escape character yourself.

After changing the options, press Reload page to view the first 5 rows of the file in a tabular format.

Map file columns

On the Map file columns page you must tell Node import which file columns contain the content for which content fields.

Some content fields, such as Title for Node content is required, while other content fields may be optional.

You can map the same file column to different content fields if the content in that column happens to apply to multiple content fields.

Multi-valued content fields

Some content fields may allow for multiple values to be assigned. For example Vocabulary terms. In this case you have two options:

  1. titlebodyfield value 1field value 2
    Some titleSome bodyValue 1Value 2

    If you want some content field to contain the values of both the field value 1 and field value 2 columns, you will need to select the two columns in the select list for that content field.

  2. titlebodyfield values
    Some titleSome bodyValue 1||Value 2

    In this case, you put both values in the same file column, but separated by some separator which you will be able to set on the following page. By default it is || - double pipe character.

Hierarchical content fields

Some content fields may contain a value that is inherently hierarchical, such as a Parent item in a Book outline. In this case you also have the option to map either a single column or multiple file columns to the content field.

  1. titlebodyparentchild
    Some titleSome bodyParentChild

    If you want to set the value of a content field to Parent » Child you need to select both file columns in the select list for that content field.

  2. titlebodyparent
    Some titleSome bodyParent>>Child

    Similar to multi-valued content fields, you can also map the content field to exactly one file column and have the hierarchy of the item separated by separators which you can set on the next page. By default this separator is >> - double greater-than character.

Multi-valued hierarchical content fields

In the case a content field can have multiple values which are all hierarchical by nature, you can also map the content field to either one file column or to multiple file columns.

The interpretation in this case is that the multiple value nature of the content field has precedence over the hierarchical nature of the field.

  1. titlebodyvalue 1value 2
    Some titleSome bodyParent 1>>Child 1Parent 2>>Child 2
  2. titlebodyparents
    Some titleSome bodyParent 1>>Child 1||Parent 2>>Child 2

In both cases, the values Parent 1 » Child 1 and Parent 2 » Child 2 will be assigned to the content field it is mapped to.

Set import options

On the Set import options you can set additional options on how to interpret the supplied data from the file.

Hierarchical and multi-valued content fields

You will get an option to set the Multiple values separator and Hierarchical separator if it applies for a content field.

Set default values

On the Set default values page you can set the default value to use in the case the content field either has not been mapped to a file column or the data in that file column is empty for a given record.

Note that the default values are only used in those two cases! Selected a number of Taxonomy terms here will not assign those terms to all imported records for example.

Preview import

On the Preview import page you can see a preview of the content you will created. You can go Back to correct any errors you encounter.

Note that the preview of the imported content is not always 100% correct as some content fields may only appear after the content has really been created, such as Menu items.

Start import

The Start import page offers the last chance to change any options. When you press Start import you will be guided to a different page which starts the import.

You can set a name for the import so you can keep track of the different imports on Administer » Content » Import content page.